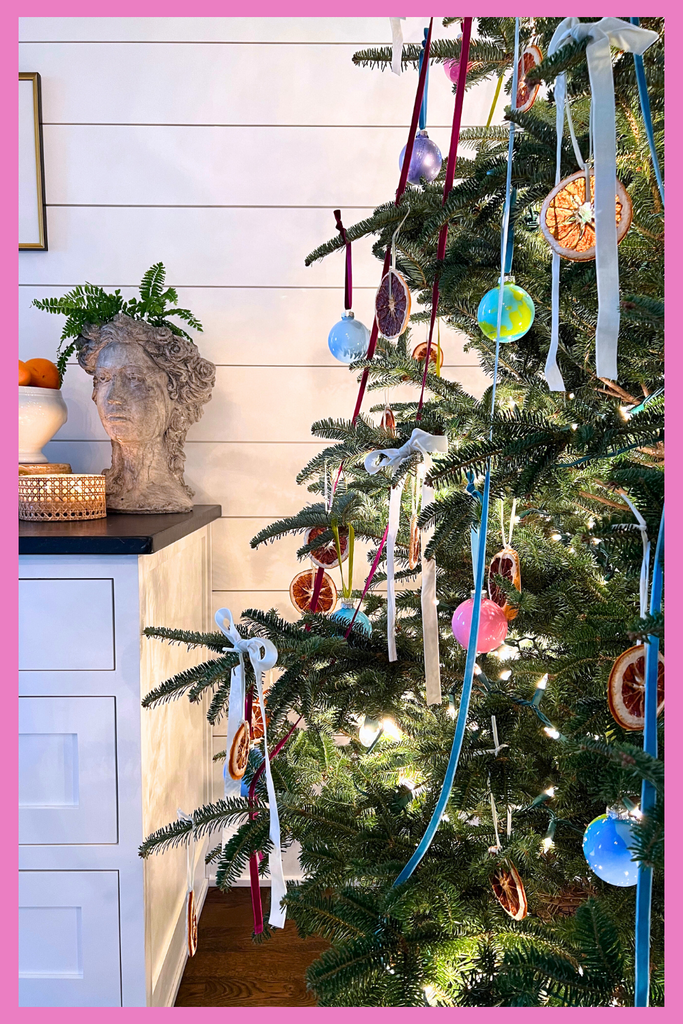
Nostalgic DIY Ornaments

As Christmas preparations are in full swing, here is a simple DIY that will add a little merriment to your holiday festivities.
Supply List:
clear glass ornaments
3/8" velvet ribbon in the colors of your choice
acrylic paint in the colors of your choice

To begin, I used 65mm (2.5 inch) clear glass ornaments. Simply take off the metal top and slowly squeeze the paint inside the ornament. I used Martha Stewart Crafts paint that I had on hand but any acrylic paint will work. There are many options either online or at your local craft store. Gently tap the ornament into a slightly cupped hand to move the paint around the sides adding more paint as you go. It's best to use as little paint as possible, so add more only when the paint no longer wants to move along the inside of the ornament. For a marbled look, simply add 2 to 3 different paint colors one at a time. Rotate back and forth between the colors until the glass is covered.
Once finished, use the plastic tray that came with the ornaments to prop them upside down in order to allow any excess paint to drip out. You can put a piece of paper towel underneath the ornament to catch the excess paint which will allow you to reuse the tray for storage later. Keep them upside down for at least 24 hours to dry. Once dried, you may notice a few spots where the paint has separated during the drying process. If so, simply add a little more paint and repeat the process then let dry for another 24 hours.
Once completely dry, place the metal top back onto the ornament and add a velvet ribbon to hang. I used 3/8" ribbon and cut each to 7 inches in length.
That's it...festive, handcrafted ornaments that will enhance your holiday decor with a touch of whimsy!


Leave a comment